How to Restore Antique Objects at Home
Restoring antique objects at home can be a rewarding venture, blending the joy of craftsmanship with the nostalgia of preserving history. Whether you possess an old family heirloom or a recently acquired flea market find, proper restoration can rejuvenate these treasures while maintaining their historical essence. This blog post will guide you through a series of techniques and projects, including using Howard’s Restor-A-Finish for furniture, polishing brass knobs with Howard’s Brass Polish, enhancing security features, adding moulding to cabinetry, and creating a DIY Woodland Spring Dogwood & Fern Wreath. Read on to unlock these secrets and reclaim the splendor of your antique items, ensuring they become cherished centerpieces in your home.
I have a full recap video from my popular Instagram Stories below
Before diving into our detailed step-by-step restoration guide, I invite you to watch the recap video from my popular Instagram Stories. This visual walkthrough offers a stunning glimpse into the transformation process of various antique objects. As you watch, keep an eye out for the techniques I demonstrate, which perfectly complement the detailed instructions provided in this post. You’ll find the link to the video below, which provides a picturesque prelude to the magic that lies in the power of restoration.
How to use Howard’s Restor-A-Finish to restore antique furniture without refinishing
Howard’s Restor-A-Finish is a versatile product designed for those who want to revitalize their antique furniture without undergoing a full refinishing process. Begin by choosing the right color of Restor-A-Finish to match your piece. Clean the surface with a damp cloth to remove dust and dirt. Apply the product using grade 0000 steel wool or a soft cloth, moving with the grain of the wood. This will help blend and diminish scratches, blemishes, and watermarks.
Let the Restor-A-Finish sit for about 30 minutes, allowing it to penetrate and restore the wood’s original beauty. Afterward, wipe off any excess with a clean cloth. For added protection, consider applying a coat of wax or Howard’s Feed-N-Wax to seal the surface. This will enhance the sheen and further preserve the wood. Restor-A-Finish not only revives the appearance of your furniture but also fosters a deeper appreciation for its original charm and craftsmanship.
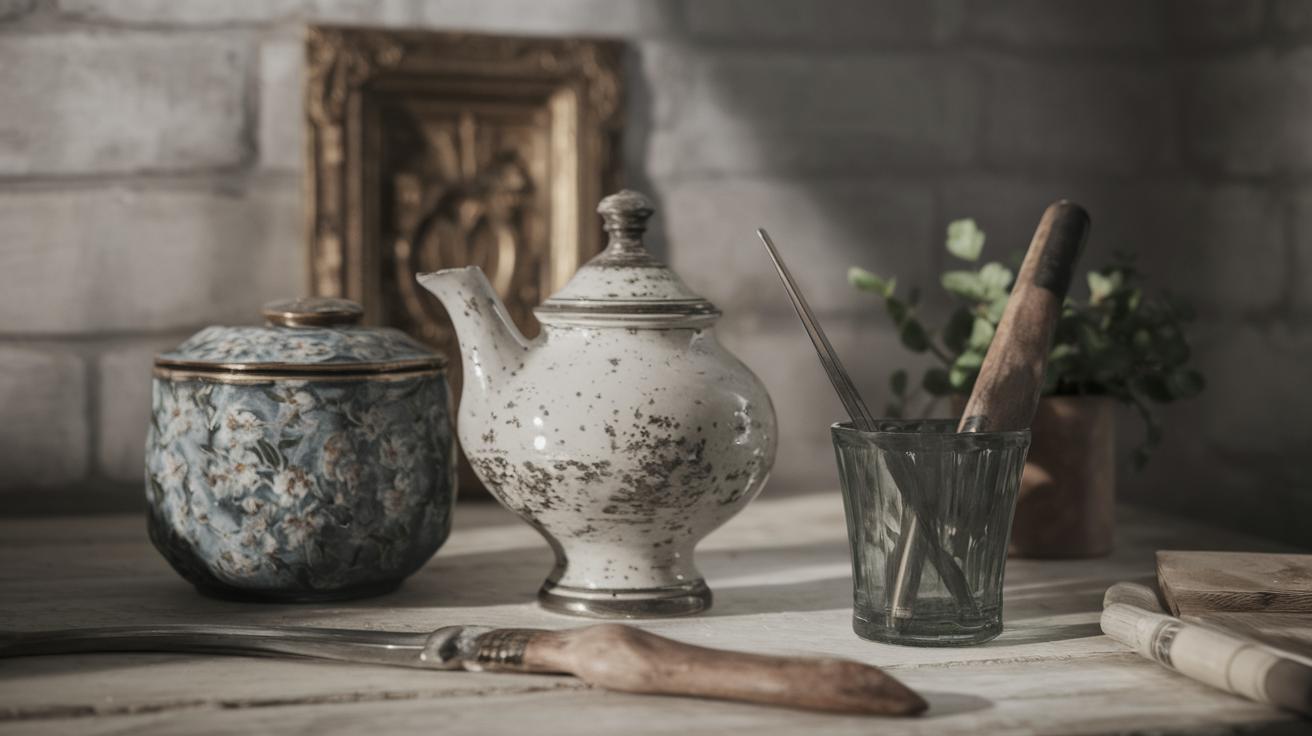
Using Howard’s Brass Polish to restore brass knobs and handles
Brass fixtures often add an elegant vintage touch to furniture and decor, but they can accrue tarnish over time. Restoring them with Howard’s Brass Polish is an effective way to bring back their original luster. Begin by removing the brass pieces from the furniture to ensure a comprehensive clean. With a soft cloth or brush, apply a small amount of the polish, coating the surface evenly.
Rub the polish with gentle, circular motions until the tarnish starts to lift. For severely tarnished items, allow the polish to sit for a few minutes before buffing. Once the desired shine is achieved, wipe off any excess with a clean rag. Regular maintenance with this polish can keep your brass knobs and handles shimmering, maintaining their timeless appeal for years to come.
Security is a beautiful thing
In addition to aesthetic concerns, antiques often carry sentimental value that warrants security measures. When restoring antique objects, it is crucial to consider protective additions that do not compromise their historical integrity. Consider installing discreet locks or security plates on furniture pieces, or reinforcing fragile items with modern backing materials.
Furthermore, hidden safes or compartments can be integrated into restored furniture for added security. While safeguarding your valuables, these modifications can enhance the object’s functionality and maintain its aesthetic appeal, thus merging beauty with practicality in your restored collectibles.
How to Add Moulding to Cabinetry and Built-Ins
Adding moulding to cabinetry and built-ins can dramatically refine their appearance, transforming plain surfaces into sophisticated focal points. Begin by selecting a style of moulding that complements your existing decor. Measure the area where the moulding will be applied and cut the pieces to fit, making sure to account for corners and joins.
Once the moulding is cut, attach it using nails, a strong adhesive, or a combination of both, ensuring that it is flush and secure. Finish by filling any gaps with wood filler and sanding them smooth for a seamless integration. A coat of paint or stain can match the moulding to the cabinetry, completing the transformation with a polished and refined look.
DIY Woodland Spring Dogwood & Fern Wreath
Creating a DIY Woodland Spring Dogwood & Fern Wreath is a delightful way to infuse natural beauty into your home. Gather materials such as dogwood branches, fern fronds, and an assortment of greenery. You’ll also need a wreath frame, floral wire, and garden shears.
Start by attaching the fern and greenery to the wreath frame using the floral wire for a lush, green base. Layer the dogwood branches in a flowing arrangement, securing them with wire as you work around the frame. Trim any excess, and adjust for balance, creating a harmonious composition that invites the essence of spring into your home. Hang your finished wreath on a front door or an interior wall to celebrate the season with a touch of handcrafted elegance.
Leave a Reply Cancel Reply
Your thoughts and feedback are invaluable, and I encourage you to share your experiences in restoring antique objects below. Whether you have tips of your own to offer or need advice on a particular project, feel free to leave a comment! Please note that comments require approval before they appear, but I look forward to engaging with each of you and learning from your restoration journeys.
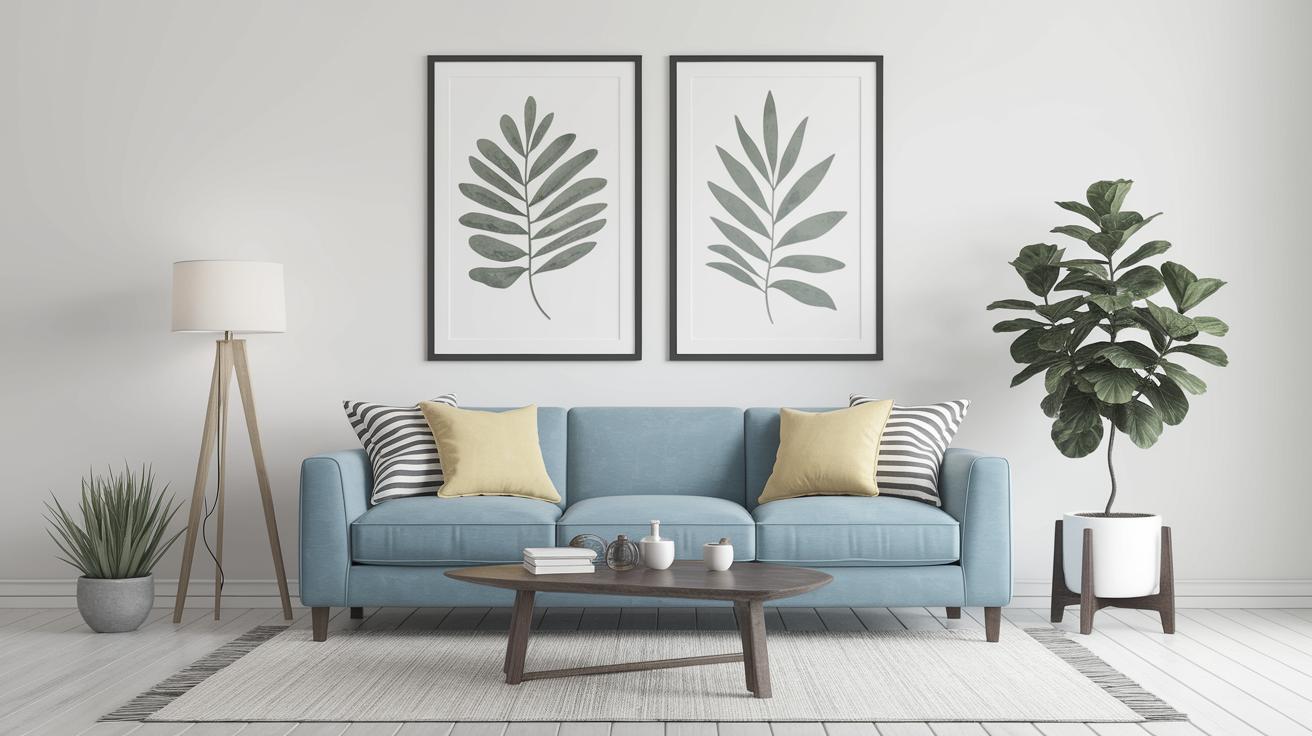
One Room Challenge Spring 2020 Open Living and Dining Room Reveal
The Spring 2020 One Room Challenge allowed me to transform an open living and dining room space, blending contemporary elements with vintage treasures that roots back to this very topic – restoration. By incorporating restored antique pieces with modern furnishings, I was able to create an inviting and balanced environment.
Not only does this invite you to think more about the spatial planning and harmony of antiques in your home, but it also shows how restoration work brings emotional stories back into our contemporary living environments. Explore the transformation, still rife with intriguing old-world charm, epitomizing the seamless union of past and present.
Sunny Privacy Garden with Southern Living Plants
Design extends beyond interiors and into the surrounding environment, such as a sunny privacy garden made lush with Southern Living Plants. Incorporating restored antique elements such as wrought iron gates or terracotta pots can add history and intrigue to your garden design.
These antiques, newly restored, enhance both the aesthetic and functional aspects of your garden, creating private, inviting outdoor spaces that reflect your appreciation for the past. Paired with vibrant, low-maintenance plants, these elements create serene pockets perfect for relaxation, meditation, or entertaining guests amidst nature’s beauty.
Lessons Learned
| Technique | Summary |
|---|---|
| Howard’s Restor-A-Finish | Revitalize antique furniture without complete refinishing, preserving original charm and craftsmanship. |
| Howard’s Brass Polish | Restore brass knobs and handles to their original lustrous state, maintaining their timeless appeal. |
| Security Enhancements | Integrate discreet security measures that protect without compromising aesthetic integrity. |
| Adding Moulding | Enhance cabinetry and built-ins, transforming them with elegant, added detail. |
| DIY Woodland Wreath | Craft a spring wreath with natural elements, effectively bringing seasonal charm to interiors. |
| Room and Garden Integration | Create harmony by thoughtfully incorporating restored antiques in home and garden decor for aesthetic continuity and historic enrichment. |