Best Methods for Furniture Restoration
Furniture restoration is an art that combines science, skill, and a love for keeping history alive. Whether you’re a hobbyist or a professional, the satisfaction of breathing new life into an old piece is unparalleled. This blog post will explore various methods of furniture restoration, focusing on techniques like understanding dovetail joints, applying wipe-on furniture stain, assessing the need for re-gluing, and the intricate process of putting a piece back together. Each section will provide insights and practical advice to help you achieve the best results in your restoration projects. By understanding these methods, you’ll not only preserve the beauty and functionality of furniture but also contribute to maintaining cultural heritage. Whether you’re restoring a family heirloom or a thrift store find, these techniques will guide you through the process efficiently and effectively.
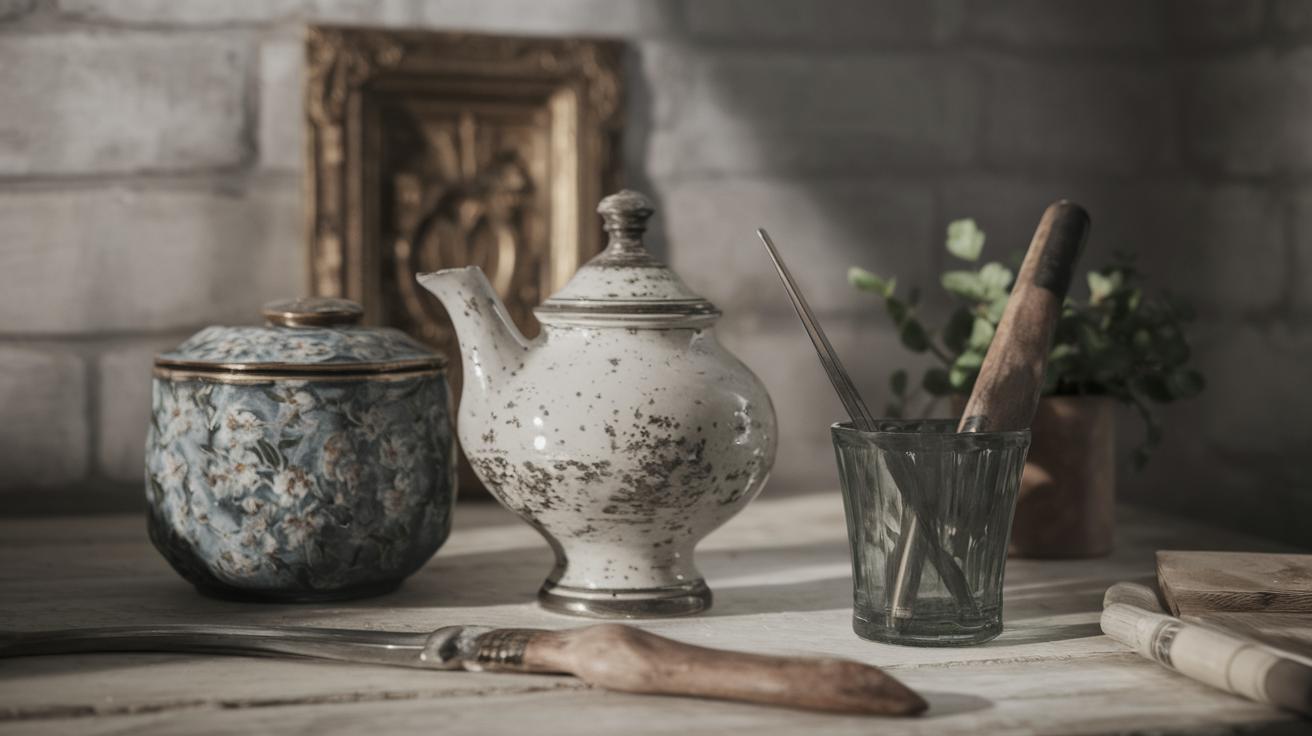
What are Dovetail Joints?
Dovetail joints are a hallmark of quality craftsmanship in furniture making. Recognizable by their distinctive interlocking tails and pins, these joints not only have aesthetic appeal but also provide remarkable strength and durability. Dovetail joints are commonly found in drawers and the corners of cabinets and boxes, where their robustness is essential for structural integrity. Understanding how these joints work is crucial for anyone interested in furniture restoration, as they often require attention during the repair process.
To restore a piece with dovetail joints, carefully examine the condition of the joins. Over time, the wood can shrink or expand due to environmental changes, causing the joints to loosen. In such cases, you may need to disassemble the poorly fitted areas, clean the joints, and reglue them. Always ensure that you’re using an adhesive that complements the original craftsmanship, as using modern glue can sometimes damage historical pieces or alter their authenticity.
What is a Wipe-On Furniture Stain?
Wipe-on furniture stains are an ideal solution for those looking to refresh the appearance of wood without resorting to heavier refinishing methods. Unlike traditional stains that require brushes or rollers, wipe-on stains are applied with a cloth, allowing for more control over the amount of product used and the coverage achieved. This method is perfect for beginners and experienced restorers alike, as it minimizes streaking and pooling.
When applying a wipe-on stain, begin by preparing the surface by sanding it lightly to remove old finishes or minor imperfections. Once the surface is prepped, use a clean, soft cloth to apply the stain, working in the direction of the wood grain to ensure even distribution. Allow the first coat to dry, then assess the appearance and decide if additional layers are necessary. The beauty of the wipe-on method lies in its simplicity and the beautiful, natural finish it imparts to the wood.
Does it Need to be Re-Glued?
Determining whether a piece of furniture needs to be re-glued is a critical step in the restoration process. Over time, adhesive joints can weaken, leading to wobbling legs, loose arms, or even falling apart. To assess the need for re-gluing, first conduct a thorough inspection of the furniture, looking specifically at joints and seams that are subject to stress or movement during use.
If you find that re-gluing is necessary, the next step involves selecting the right type of glue for the material and age of the piece. Traditional animal-based glues are often preferred for antique restoration, as they closely match the composition of the original adhesives used. Strip away any remaining old glue with care, then apply the new adhesive to both surfaces. Clamp the joint firmly and allow it to cure fully before subjecting the furniture to use, ensuring the repair is as strong and lasting as the original construction.
Putting It Back Together
Once you’ve addressed any dovetail joint issues, applied stains, and re-glued necessary parts, the next stage in furniture restoration is reassembly. This step can be as simple as aligning and securing joined pieces or as complex as reconstructing entire sections of a piece. The key is patience and ensuring that all parts are dry, clean, and properly aligned before securing them in place.
When putting a piece back together, verify that all fasteners and hardware are in good condition. Replace any corroded screws or bolts with similar materials to maintain the piece’s historical integrity. Use clamps to hold the components firmly together while the glue sets, making any necessary adjustments to achieve a perfect fit. This attention to detail will not only improve the furniture’s appearance but also restore its original strength and function.
Related Articles
For those eager to dive deeper into the world of furniture restoration, there are several resources that can enhance your knowledge and skills. Articles covering techniques like detailed wood carving repairs, historical finish recreation, and advanced joinery methods can provide valuable insights. These materials often include step-by-step guides, case studies, and expert advice that can inspire and inform your projects.
Alongside literature, many restoration enthusiasts find online communities and workshops to be invaluable. Participating in forums or attending classes allows for the exchange of ideas and solutions to common restoration challenges. With a wealth of information accessible at your fingertips, you can expand your proficiency in furniture restoration and share your newfound knowledge with others.
Final Thoughts
| Method | Description |
|---|---|
| Dovetail Joints | Examine, clean, and reglue loose dovetail joints for structural integrity. |
| Wipe-On Furniture Stain | Apply a wipe-on stain with a cloth for a natural finish and even coverage. |
| Re-Gluing | Inspect joints, select appropriate adhesives, and re-glue to restore stability. |
| Reassembly | Align parts carefully, secure with hardware, and clamp to ensure proper fit. |